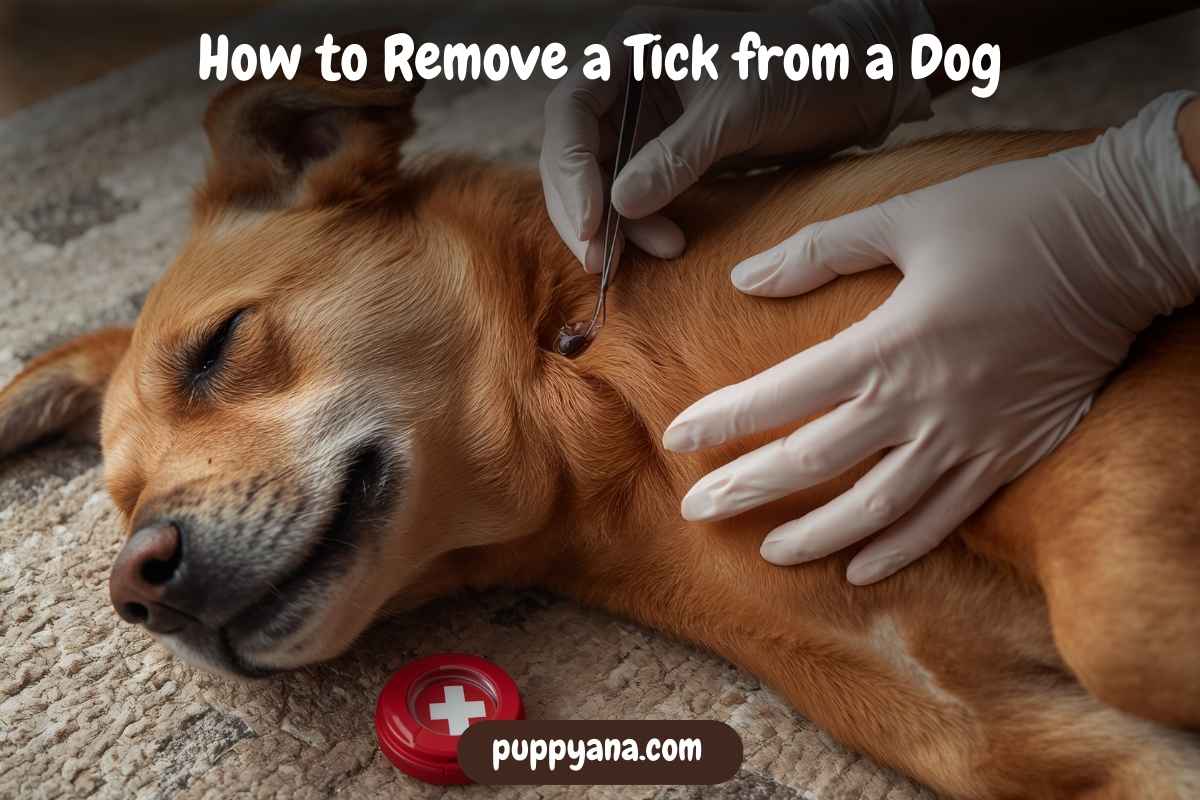
If you’ve spotted a small, strange bump hiding in your dog’s fur, you might be looking at an embedded tick. These tiny parasites latch on to feed, and they’re not just gross. They can carry serious diseases, too.
Whether you just got back from a hike or live in an area where ticks are common, it’s important to know how to remove a tick from a dog safely, quickly, and completely.
This guide walks you through the exact steps to take, what tools to use, what not to do, and how to protect your dog from ticks in the future.
Let’s get started.

Table of Contents
ToggleWhat Is a Tick and Why Is it a Problem?
Ticks are small, spider-like parasites that feed on blood. They attach themselves to animals, including dogs, and bury their mouthparts into the skin to feed for several days.
The real problem? Ticks can carry diseases, even if your dog doesn’t show signs right away.
Some of the most common tick-borne illnesses in dogs include:
- Lyme disease
- Ehrlichiosis
- Rocky Mountain spotted fever
- Anaplasmosis
According to PetMD, the longer a tick remains attached, the greater the risk of disease transmission. That’s why removing it quickly and properly is essential.
Where Do Ticks Hide on Dogs?
Ticks are sneaky—once they latch on, they often crawl to warm, hidden spots on your dog’s body.
Check these common tick hiding places:
- Behind the ears
- Around the eyes
- Under the collar
- Between the toes
- Inside leg joints
- Base of the tail
- Near the groin or armpits
Running your fingers slowly over your dog’s entire body after walks or outdoor play is a smart habit—especially in spring, summer, and early fall, when ticks are most active.

How to Remove a Tick from a Dog Safely
Now for the important part: tick removal.
Removing a tick isn’t difficult, but doing it wrong can increase infection risk, leave the mouthparts behind, or even squeeze disease-causing contents directly into your dog’s bloodstream.
Here’s a safe, step-by-step method approved by experts like the American Kennel Club (AKC):
Step-by-Step: How to Remove a Tick
- Gather Supplies
- Pair of fine-pointed tweezers (or a tick removal tool)
- Gloves
- Antiseptic solution (like chlorhexidine or iodine)
- Small jar with lid or sealed plastic bag
- Cotton ball or gauze
- Treats to keep your dog calm (like soft chews suggested by PuppyAna)
- Calm and secure your dog
You may need another person to gently hold your dog or keep them still with affection and treats. - Grasp the tick close to the skin
Using tweezers, grab the tick as close to the skin’s surface as possible. Avoid squeezing the tick’s body. - Pull straight upwards, slowly
Apply steady pressure, don’t twist or yank quickly. The goal is to remove the tick whole, including the head and mouthparts. - Disinfect the bite site
Dab an antiseptic onto the skin and wash your hands after glove removal. Save the tick for testing if requested by your vet.
What Tools Work Best for Removing Ticks?
You don’t need anything fancy, but using the right tick removal tool makes the process easier and more effective.
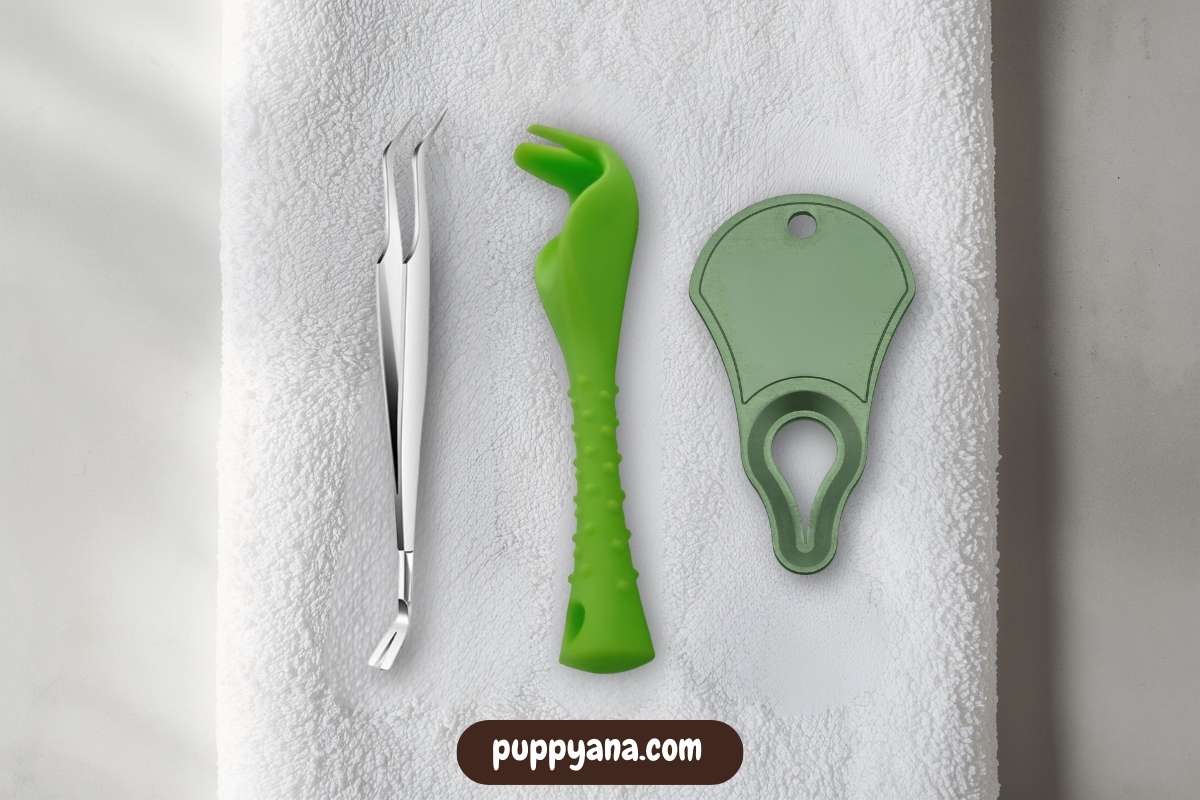
Safe tool options:
- Fine-tipped tweezers
- Tick twister (plastic “hook” for twisting)
- Tick key (flat metal or plastic with a hole for tick-grabbing)
Tick removal tools are typically available at pet stores and vet offices. Some come with carrying cases and sterile wipes for outdoor use.
Avoid regular blunt tweezers or grabbing with your fingers—these can squeeze the tick and increase disease risk.

What Not to Do When Removing a Tick
Never do the following:
- Don’t burn the tick with a match or lighter
- Don’t apply alcohol, jelly, or oil to “make it let go”
- Don’t twist it rapidly with tweezers (risk breaking it apart)
- Don’t leave the mouthparts in the skin
- Don’t crush it between fingers—this can spread disease
The ASPCA warns against using “folk remedies” like petroleum jelly or heat, which often do more harm than good. Stick to simple mechanical removal.
What to Do After Tick Removal
Once the tick is out, proper follow-up helps prevent infections:
Aftercare Checklist:
- Clean the bite area with an antiseptic
- Monitor for redness or discharge
- Save the tick in a sealed container (in case testing is needed)
- Make a note of the removal date and location
- Watch your dog over the next 1–3 weeks for signs of illness
If your dog starts showing symptoms like fever, loss of energy, lameness, or swollen joints, visit your vet. Lyme disease and other tick-borne illnesses can take days or even weeks to appear.

When to Take Your Dog to the Vet
You don’t need to call the vet for every tick bite, but in some cases, it’s smart to get a professional opinion.
Call your vet if:
- You can’t remove the tick fully (the mouthparts stayed in)
- The area becomes red, swollen, or hot
- Your dog shows signs of illness (fever, limping, appetite loss)
- You live in an area with known tick-borne disease outbreaks
Some vets keep tick-bite tracking logs for your county or region and may report dog cases to local health departments.
Preventing Ticks from Biting Your Dog
Removing ticks is important but preventing them is even better.
Best tick prevention tips:
- Use a vet-approved flea & tick preventive (oral chew or topical)
- Inspect your dog after every walk (especially in wooded or grassy areas)
- Keep your mowing and landscaping trimmed
- Avoid high-tick areas during peak season
- Wash bedding and collars often
Brands like PuppyAna suggest natural wellness supplements that support a strong immune response but always pair them with actual tick prevention methods recommended by your vet, like Simparica, NexGard, or Seresto collars.

Conclusion
So, how to remove a tick from a dog?
It’s a matter of acting quickly, using the right tools, and knowing what steps to take—and avoid.
Ticks aren’t just creepy, they can be dangerous. But if you check your dog regularly, know how to remove a tick the safe way, and call your vet when needed, you’ll reduce the chances of any long-term health issues.
Stay prepared. Keep a tick removal tool in your dog’s emergency kit. And most importantly, don’t panic the next time you see one of these uninvited hitchhikers.
With the right know-how, you’ve got this.
Frequently Asked Questions
How do I know if a tick is fully removed from my dog?
The tick should have a wide body and small head—if it’s intact, you removed the whole thing. Watch the bite site for swelling.
Can a tick head stuck in dog skin cause problems?
It may cause mild irritation or swelling, but often works its way out. See your vet if it appears infected or inflamed.
Do I need to save the tick after removal?
Yes, if possible. Place it in a sealed bag or jar with alcohol in case your vet wants to identify or test it.
How soon should I remove a tick?
Immediately. The sooner the tick is off, the less chance it has to pass disease.
What happens if I crush a tick?
That can release harmful bacteria. Use tweezers or tools to handle it; never crush it with fingers.
Are dog tick preventatives necessary all year?
Yes, especially in warmer regions or if your dog spends time outdoors. Ticks can survive in mild winters.
Can I use my fingers to remove a tick from my dog?
Only as a last resort—tools reduce the risk of squeezing the tick or leaving body parts behind.
Do all ticks carry disease?
Not all—but many do. The risk depends on location, tick species, and your dog’s immunity.
What’s the black lump left behind after removing a tick?
It may be irritation, a scab, or leftover mouthparts. Clean the area and monitor closely.


